
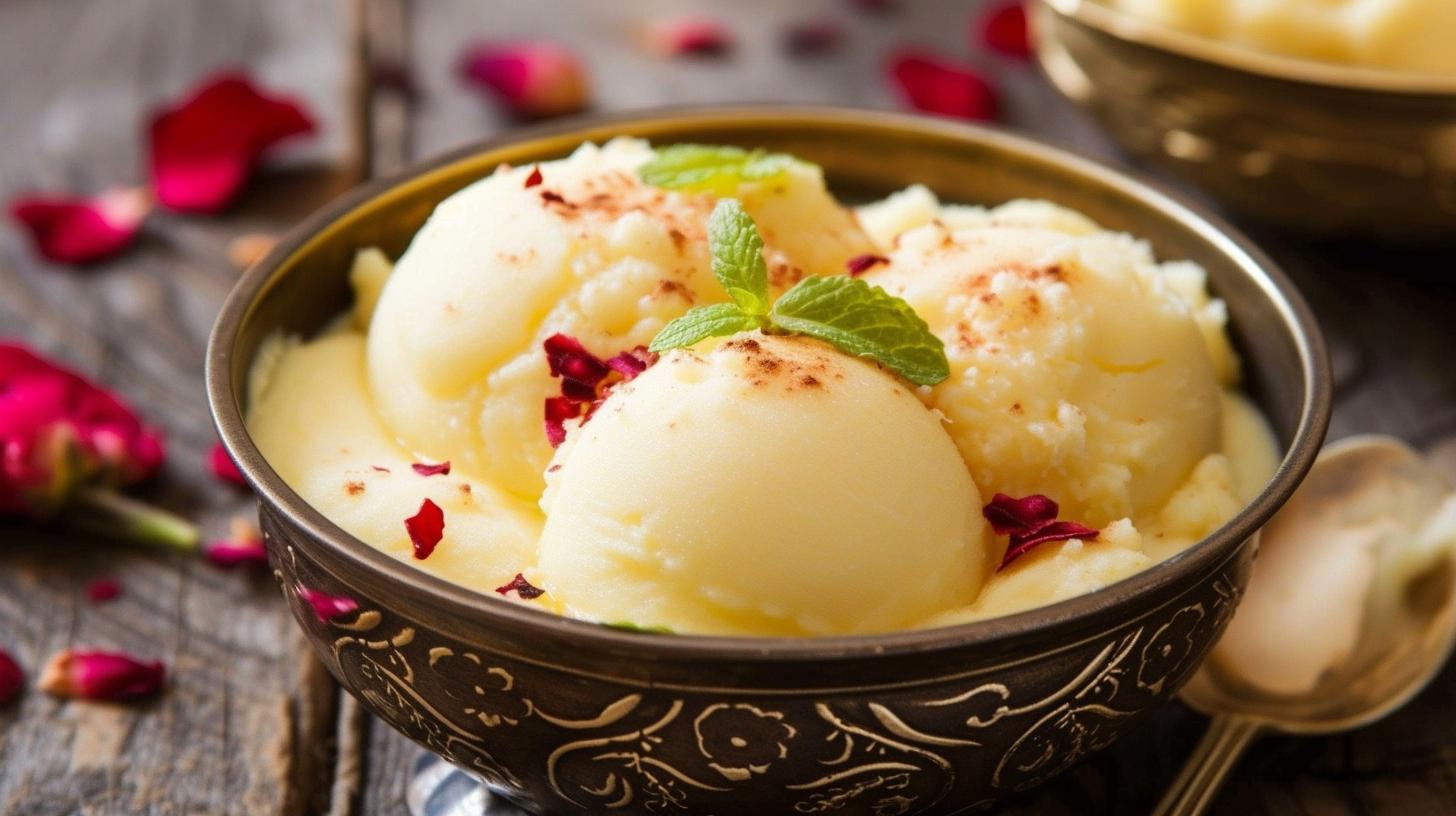
Rasmalai, a beloved Indian dessert, is a creamy and aromatic delicacy that is enjoyed by people of all ages. It is a popular sweet dish in Indian cuisine, known for its rich flavor and delicate texture. In this article, we will delve into the origins and significance of Rasmalai, as well as provide a detailed guide on how to make it at home using milk powder.
Rasmalai, which translates to “juicy cream” in Hindi, has its roots in the Indian subcontinent and holds a special place in the hearts of many. The sweet has been a part of Indian culinary traditions for centuries, with its origins dating back to the Mughal era. It is often served during festivals, celebrations, and special occasions such as weddings and religious ceremonies.
The key to making delicious Rasmalai lies in using the right ingredients and following the proper techniques. This article will provide a comprehensive list of ingredients needed for the Rasmalai recipe from milk powder, including tips on where to source them. We will also offer step-by-step instructions for preparing the chenna (paneer) from milk powder – the primary ingredient in Rasmalai – along with detailed steps for making the sugar syrup that gives Rasmalai its sweet and aromatic flavor.
Whether you are new to making Rasmalai or looking to improve your skills, this article aims to guide you through each stage of preparation. From shaping the chenna into perfect bite-sized balls to cooking and simmering them in the sugar syrup, we will provide expert advice to help you achieve the best results. Additionally, we will explore different techniques for creating the creamy and fragrant milk mixture used for soaking the Rasmalai balls.
Finally, we will share tips and tricks for perfecting your Rasmalai recipe from milk powder as well as suggestions for serving and enjoying this delectable dessert alongside other dishes or beverages. By the end of this article, you’ll be equipped with all the knowledge necessary to create homemade Rasmalai that is sure to impress your family and friends.
Ingredients Needed for the Rasmalai Recipe From Milk Powder
To make the delicious Rasmalai using milk powder, you will need a variety of ingredients to create this traditional Indian sweet. The following is a detailed list of all the items required to make Rasmalai at home:
1. Milk Powder: The main ingredient for this recipe, as it forms the base for creating the chenna (paneer) required for making Rasmalai.
2. All-Purpose Flour: A small amount of all-purpose flour is needed to bind the chenna together and give it a smooth texture.
3. Baking Powder: A pinch of baking powder is used to help the chenna balls puff up when they are cooked.
4. Sugar: Both granulated sugar and powdered sugar are used in different parts of the recipe – for making the chenna balls and for preparing the sugar syrup.
5. Water: Needed for mixing with milk powder to create chenna and for making the sugar syrup.
6. Cardamom Pods: These aromatic pods are used to flavor both the chenna balls and the creamy milk mixture, adding a delightful fragrance to the dessert.
7. Saffron Strands: Used for garnishing and adding a beautiful golden color to the Rasmalai, as well as imparting a subtle floral flavor.
8. Rose Water or Kewra Water: Optional but traditional ingredients that add a delicate floral aroma to the creamy milk mixture.
9. Almonds and Pistachios: These nuts are finely chopped and used as garnish for the finished Rasmalai, adding crunch and visual appeal to the dessert.
10. Milk: Whole milk is used to create the creamy soaking mixture that gives Rasmalai its rich and decadent taste.
By having these ingredients on hand, you can easily embark on preparing your own batch of homemade Rasmalai using milk powder. Each item plays a crucial role in achieving the authentic flavors and textures that make this sweet treat so beloved in Indian cuisine. Embracing these traditional ingredients will ensure an authentic experience, allowing you to enjoy this delectable dessert just like it’s made in India but from your own kitchen.
Step-by-Step Instructions for Preparing the Chenna (Paneer) From Milk Powder
Chenna, also known as paneer, is the main ingredient in Rasmalai. This soft and crumbly cheese is what gives Rasmalai its distinct texture and flavor. Making chenna from milk powder is a simple process that requires just a few ingredients and some patience. Here’s a step-by-step guide on how to prepare the chenna for your homemade Rasmalai.
To make chenna from milk powder, you will need the following ingredients:
- 2 cups of full-fat milk powder
- 1/2 cup of lukewarm water
- 1 tablespoon of lemon juice or white vinegar
Start by mixing the milk powder with the lukewarm water in a large bowl. Use your hands to gently knead the mixture until it comes together to form a smooth dough. If the dough feels too dry, you can add a little more water, a few drops at a time, until it reaches the right consistency.
Once the dough is formed, cover it with a damp cloth and let it rest for about 10 minutes. This will help the milk powder rehydrate and become more pliable. In a separate small bowl, dilute the lemon juice or white vinegar with a few tablespoons of water.
After letting the dough rest, divide it into small portions and roll them into balls. Then, gently flatten each ball between your palms to form discs or patties. In a large pot or deep pan, bring some water to a boil over medium heat.
Next, carefully lower the chenna patties into the boiling water and let them cook for about 7-8 minutes. During this time, the chenna patties will begin to float to the surface of the water and expand in size.
After they have cooked for 7-8 minutes, use a slotted spoon to remove them from the boiling water and transfer them immediately to a bowl of cold water. This helps stop the cooking process and firms up their texture.
In summary, making chenna from milk powder involves mixing together milk powder and water to form a dough, shaping it into patties, boiling them in water, then transferring them to cold water once they are done cooking. The freshly made chenna is now ready to be used in your Rasmalai recipe.
| Ingredients | Measurements |
|---|---|
| Full-Fat Milk Powder | 2 cups |
| Lukewarm Water | 1/2 cup |
| Lemon Juice or White Vinegar | 1 tablespoon |
Preparing the Sugar Syrup for the Rasmalai
Rasmalai, a popular Indian sweet, is known for its light and creamy texture, making it a favorite dessert for many. One of the key components that give Rasmalai its distinctive taste is the sugar syrup in which the chenna (paneer) balls are cooked.
The sugar syrup seeps into the Rasmalai balls, infusing them with sweetness and adding an aromatic flavor that sets this dessert apart. In this section, we will explore the detailed steps on how to make the syrup that gives Rasmalai its sweet and aromatic flavor.
To prepare the sugar syrup for Rasmalai, you will need water and sugar in a 1:2 ratio. For example, if you use 1 cup of water, you will need to add 2 cups of sugar. This ensures that the syrup has enough sweetness to flavor the Rasmalai balls as they cook.
In a large, wide pot, combine the water and sugar. Place the pot over medium heat and stir until the sugar has completely dissolved. It’s important to use a wide pot to allow enough space for the Rasmalai balls to be added later without overcrowding.
Once the sugar has dissolved, increase the heat and bring the mixture to a boil. Allow it to boil for about 5-7 minutes without stirring. During this time, impurities in the sugar will rise to the surface as foam – simply skim off any foam that forms on top using a spoon or ladle.
After skimming off the impurities, lower the heat and let the syrup simmer for another 5-7 minutes. At this point, you should see that your syrup has slightly thickened. Once your syrup reaches this stage it is ready for cooking Chhena/Paneer balls.
By following these simple steps, you can create a deliciously sweet and aromatic sugar syrup that will perfectly complement your homemade Rasmalai. It’s essential not only for adding sweetness to this delectable dessert but also infusing it with a delightful fragrance that makes every bite of Rasmalai unforgettable.
| Ingredients | Ratio |
|---|---|
| Water | 1 cup |
| Sugar | 2 cups |
Shaping the Chenna Into Rasmalai Balls
Tip 1: Draining and Pressing the Chenna
After preparing the chenna from milk powder, it is essential to drain out any excess water by placing it in a muslin cloth or cheesecloth and pressing it gently. This step helps in achieving the right texture for the Rasmalai balls. Be sure to press firmly but not too hard, as you want to maintain some moisture in the chenna.
Tip 2: Adding Flavor and Aroma
To enhance the taste of the Rasmalai, consider adding a few drops of rose water or kewra water to the drained chenna before shaping it into balls. These aromatic flavors will infuse into the Rasmalai during cooking, creating a delightful sensory experience with every bite.
Technique for Forming Perfect Balls
Once the chenna has been drained and flavored, take small portions of it in your hands and gently roll them into smooth, round balls. It’s important to apply gentle pressure while shaping the chenna to ensure that there are no cracks on the surface of the Rasmalai balls. The size of the balls can vary according to personal preference, but they are typically about an inch in diameter.
Avoid Overhandling
It’s crucial not to overhandle the chenna while forming the balls, as excessive manipulation can result in dense and tough Rasmalai. Handle the chenna just enough to shape it into smooth balls, then place them carefully into simmering sugar syrup for further cooking.
Tips for Uniformity
To ensure that all your Rasmalai balls are uniform in size, consider using a measuring spoon or scoop for portioning out equal amounts of chenna. This technique will help create evenly sized Rasmalai, resulting in a visually appealing final dish.
By following these tips and techniques, you can expertly shape your chenna into perfect bite-sized Rasmalai balls that are ready to be cooked and transformed into a delightful Indian dessert. Once you have mastered this step, you’ll be one step closer to savoring homemade Rasmalai with its rich flavor and creamy texture.
Cooking and Simmering the Rasmalai Balls in the Sugar Syrup
Rasmalai, a delectable Indian dessert, is a rich and creamy treat that is enjoyed by people of all ages. This sweet confection consists of soft and spongy cottage cheese balls that are soaked in a delicately flavored, creamy milk mixture.
One of the crucial steps in making Rasmalai is cooking and simmering the chenna balls in the sugar syrup. This process ensures that the Rasmalai balls are cooked to perfection and absorb the sweet flavors of the syrup, resulting in a delicious dessert.
To cook and simmer the Rasmalai balls in the sugar syrup, follow these simple steps:
- Prepare a large pot or deep pan and fill it with water. Add sugar to the water and bring it to a gentle boil.
- Once the sugar has dissolved completely in the water, gently add the shaped chenna balls into the boiling syrup.
- The chenna balls will start to float to the surface as they cook. Let them simmer for about 15-20 minutes on medium heat.
- During this time, ensure that you gently stir the syrup occasionally to prevent sticking and ensure even cooking of the Rasmalai balls.
Cooking and simmering the Rasmalai balls is a crucial step as it allows them to absorb the sweetness from the sugar syrup while retaining their delicate texture. The chenna balls will expand slightly during this process, becoming light and spongy. It’s important to avoid vigorously boiling or overcooking them, as this can result in tough and chewy Rasmalai.
As you continue with this step, keep an eye on the texture of your Rasmalai balls; they should be soft but slightly firm when pressed gently between your fingers. Once cooked to perfection, remove them from the sugar syrup using a slotted spoon and allow them to cool before adding them to the aromatic milk mixture for soaking.
By following these simple steps for cooking and simmering your Rasmalai balls in sugar syrup, you’ll be sure to achieve deliciously tender results that will delight your taste buds with every bite.
Making the Creamy and Fragrant Milk Mixture for Soaking the Rasmalai
When it comes to making Rasmalai, the creamy and fragrant milk mixture plays a crucial role in imparting richness and flavor to this beloved Indian dessert. The milk mixture is what gives Rasmalai its signature taste and texture, making it a truly indulgent treat. In this section, we will explore different ingredients and techniques for creating the perfect milk mixture for soaking the Rasmalai.
Choosing the Right Milk
One of the key components of the milk mixture is, of course, the milk itself. Traditionally, full-fat cow’s milk is used to make Rasmalai, as it yields a rich and creamy texture. However, some recipes also incorporate condensed milk or evaporated milk to enhance the sweetness and creaminess of the dessert. Experimenting with different types of milk can result in varying flavors and textures, so feel free to explore various options to find your preferred combination.
Infusing Flavors
To elevate the fragrance and taste of the milk mixture, certain ingredients such as saffron strands, cardamom pods, rose water, or even a hint of nutmeg can be added during the preparation process. These aromatic elements not only add depth to the flavor profile but also contribute to the overall sensory experience of enjoying Rasmalai. Additionally, a touch of slivered almonds or pistachios can be included for added texture and visual appeal.

Cooking Techniques
The process of preparing the milk mixture involves simmering and reducing the liquid until it thickens slightly. This helps concentrate the flavors and creates a luscious base for soaking the Rasmalai balls. Some recipes call for adding a small amount of sugar or sweetener during this stage to lightly sweeten the milk mixture while others opt for natural sweetness from other ingredients like condensed or evaporated milk.
Variations and Innovations
While traditional Rasmalai recipes rely on classic techniques for making the creamy milk soak, there are modern variations that offer unique twists on this essential component. For instance, infusing coconut milk into the mixture can introduce tropical notes while using flavored syrups like rose syrup or mango puree can create delightful flavor fusions.
Pairing With Rasmalai
Once prepared, the creamy soak should be carefully poured over chilled Rasmalai balls just before serving. The contrast between cold Rasmalai balls and warm fragrant soak enhances its sensory appeal.
Assembling and Garnishing the Rasmalai
After successfully preparing the chenna, simmering the Rasmalai balls in sugar syrup, and making the creamy milk mixture, it’s time to assemble and garnish the Rasmalai to create a visually appealing and delectable dessert. Here are some creative ways to present and decorate the finished Rasmalai:
1. Arrange on a serving platter: Once the Rasmalai balls have been soaked in the flavored milk mixture, carefully transfer them onto a clean and decorative serving platter. Arrange them evenly with space between each ball for an elegant presentation.
2. Garnish with nuts and saffron: Sprinkle slivered almonds, pistachios, or crushed cashews over the assembled Rasmalai for added texture and visual appeal. You can also decorate each ball with a few strands of saffron for a pop of color and a touch of luxury.
3. Drizzle with rose water or kewra water: For an extra layer of flavor and aroma, lightly drizzle rose water or kewra water over the assembled Rasmalai just before serving. This delicate floral essence will enhance the overall sensory experience of this classic Indian dessert.
4. Edible flower petals: For a truly stunning presentation, consider adding edible flower petals such as rose petals or marigold petals to the top of each Rasmalai ball. Not only does this elevate the visual appeal, but it also adds a subtle floral note to each bite.
5. Serve with a sprinkle of cardamom powder: Just before serving, dust a pinch of cardamom powder over each Rasmalai ball for an additional burst of aromatic flavor. The fragrance of cardamom will complement the sweetness of the dessert beautifully.
By paying attention to these details while assembling and garnishing your Rasmalai, you can take this beloved Indian sweet to new heights in terms of both presentation and taste.
Now that you’ve learned how to assemble and garnish your Rasmalai, it’s time to serve this delightful dessert to your guests or enjoy it yourself as a well-deserved treat after all your hard work in creating this homemade delight.
Tips and Tricks for Perfecting the Rasmalai Recipe From Milk Powder
When making Rasmalai from milk powder, there are several tips and tricks that can help you achieve the best results. Whether you are a novice in the kitchen or an experienced cook, these expert pieces of advice will ensure that your Rasmalai turns out delicious and perfect every time.
First and foremost, it is crucial to use high-quality milk powder to make the chenna for Rasmalai. The quality of the milk powder will directly impact the texture and flavor of the final dessert. Look for a well-known brand of milk powder that is known for its smooth texture and rich taste.
When preparing the chenna from milk powder, be sure to knead the mixture thoroughly to achieve a smooth and cohesive dough. This step is essential for creating soft and velvety Rasmalai balls. Additionally, avoid over-kneading the chenna as it can result in a tough and chewy texture.
One of the key elements in perfecting the Rasmalai recipe from milk powder is getting the sugar syrup just right. It is important to simmer the sugar syrup until it reaches a one-thread consistency, which ensures that it adequately sweetens and flavors the Rasmalai without being overly sticky or thin.
Another crucial tip for achieving the best results when making Rasmalai is to cook the chenna balls in the sugar syrup with patience. It is essential to allow them to simmer over low heat for the specified amount of time, as this imparts a luscious tenderness and sweetness to the Rasmalai without causing them to disintegrate.
Lastly, when making the creamy and fragrant milk mixture for soaking the Rasmalai, consider using aromatic ingredients such as saffron strands, cardamom pods, or rose water. These additions enhance the flavor profile of the dessert and give it a delightful fragrance that complements its rich and creamy texture perfectly.
By following these expert tips and tricks, you can elevate your rasmalai recipe from milk powder to new heights and impress your friends and family with this classic Indian sweet delicacy.
Serving and Enjoying the Homemade Rasmalai
In conclusion, preparing Rasmalai from milk powder is a delightful and rewarding experience that allows you to create this beloved Indian dessert in the comfort of your own kitchen. By following the step-by-step instructions for making the chenna, sugar syrup, and creamy milk mixture, you can ensure that your Rasmalai turns out just as delicious as the ones served in your favorite Indian restaurants.
Once you have successfully assembled and garnished your Rasmalai, it’s time to think about how to best enjoy it. This delectable dessert pairs wonderfully with other classic Indian dishes such as biryani or butter chicken.
The creamy texture and aromatic flavors of the Rasmalai provide a perfect contrast to the savory and spicy elements of these main courses. Additionally, it can be enjoyed with a hot cup of chai tea or even paired with a refreshing mango lassi for a truly indulgent treat.
If you happen to have any leftovers, fear not. Rasmalai can be stored in an airtight container in the refrigerator for up to 2-3 days. Simply cover it with some plastic wrap or transfer it into a sealable container to prevent it from absorbing any unwanted odors from the fridge. When you’re ready to enjoy it again, you can serve it chilled or at room temperature for a wonderful burst of sweet flavor.
Finally, as with any recipe, don’t be afraid to get creative and add your own personal touch to the Rasmalai. Whether it’s experimenting with different garnishes or adjusting the sweetness level to suit your preferences, making this traditional sweet from scratch allows you to tailor it exactly to your liking.
With these tips and tricks, serving and enjoying your homemade Rasmalai will undoubtedly bring joy and satisfaction to both you and those lucky enough to taste your culinary creation.